
Setting Up Panels
Panels are the entry point for users to open support tickets. When combined with workflows, they can be configured to suit your server’s needs. This guide will walk you through setting up panels for your server.
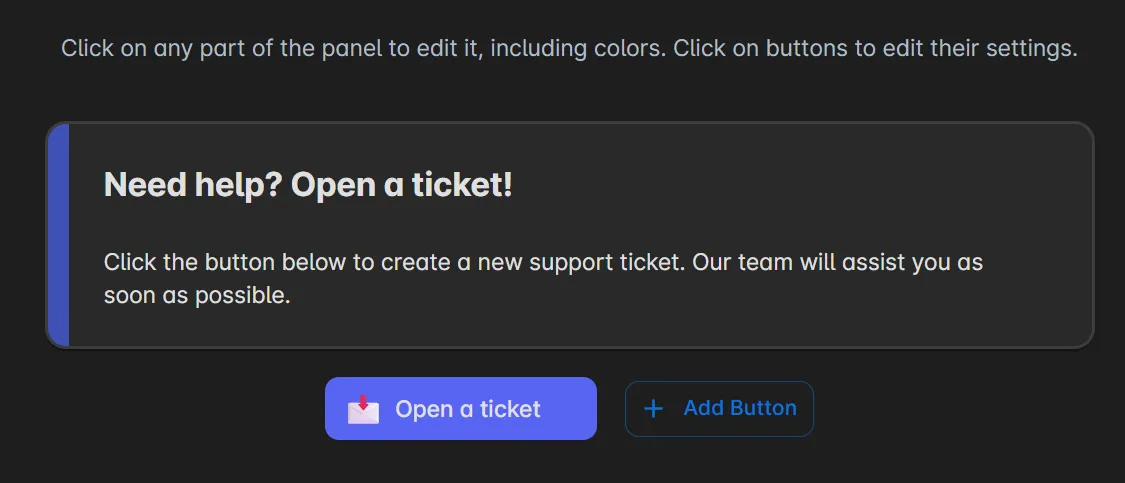
A panel consists of a title, description, and one or more buttons. Each button is linked to a workflow, which defines the lifecycle of the ticket. When a user clicks a button, they are presented with a form modal to enter the details of their issue. Once submitted, a ticket is created based on the workflow configuration.
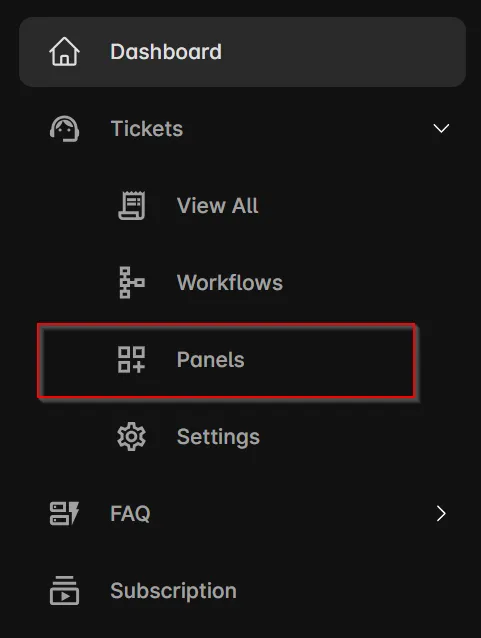
Configuring Panels
You can create, edit, and delete panel configurations via the Alvansa portal.
By default, your server includes a single panel which allows guild members to create a private ticket. You can use this panel as-is, modify it, or create additional ones to suit your specific support needs.
Metadata
All panels must have a name. This name is used to identify the panel in the portal and when publishing it via Discord. Server members will not see this name within Discord.
Panel Content
The main content of a panel includes a title, description, and highlight color. You can customize all three elements to suit your needs by clicking on the section of the panel you want to edit.
Configuring Buttons
Each panel can have a maximum of five buttons. Every button requires text and a color, and you can optionally add an emoji. Each button must be linked to one workflow, which defines how the ticket will be handled. To configure a button, simply click on it in the panel editor.
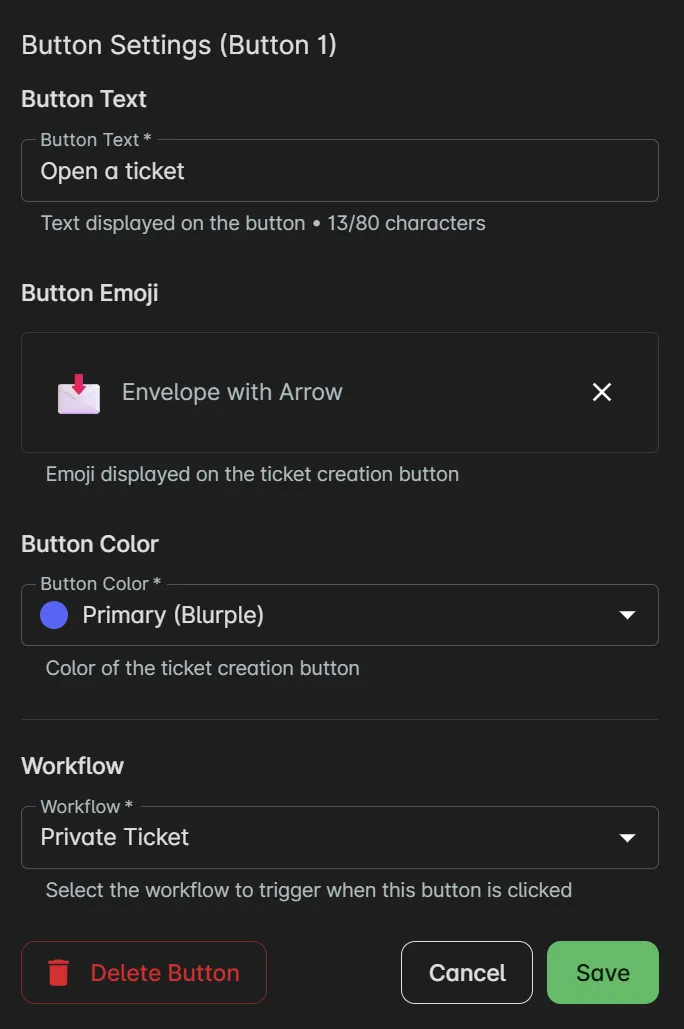
You can click Add Button underneath the panel to add a new button to the panel, up to a maximum of 5 buttons. To remove a button, click Delete Button within the button’s configuration popup.
Publishing Panels
To publish a panel, use the /panel publish command in Discord. This command accepts two optional parameters: the panel name you want to publish and the channel where you want to publish it.
If you do not specify a channel, the panel will be published to the channel where you sent the command.
If you do not specify a panel name and only have one panel configured, that panel will be published. If you have multiple panels configured, you will be presented with a dropdown and asked to select which one you want to publish.
Example commands:
/panel publish- Publishes the only panel to the current channel, or prompts you to select a panel if there are multiple panels configured./panel publish channel: "Member Support"- Publishes the only panel to the specified channel, or prompts you to select a panel if there are multiple panels configured./panel publish panel: "Support Panel"- Publishes the specified panel to the current channel./panel publish panel: "Support Panel" channel: "Member Support"- Publishes the specified panel to the specified channel.
Deleting Panels
If you want to delete a published panel from a channel, you can right-click on it and delete it, just like you would any other message in Discord. This will remove the panel from the channel, but will not delete the panel configuration from the portal. You can still edit or republish the panel at any time.
If you wish to delete the panel configuration from the portal, you can do so by clicking on the “Delete” button in the panel configuration screen. This will delete the panel configuration from the portal, and it will no longer be available for publishing. You must also manually delete any published panels from Discord, as the delete button will not remove them from Discord.